Kubernetes - k3s에 cilium 배포해보기
k3s에 On-permise에서 사용하기 좋은 cilium을 배포해본다.
Kubernetes - k3s에 cilium 배포해보기
cilium 1.17.6 / k3s v1.32.6+k3s1
Kubernetes
CLI
개요
cilium은 eBPF 기반으로 Linux의iptables대신 사용한다.- eBPF는 시스템 리소스를 적게 사용하며 특히 RDMA를 사용하는 고성능 NIC카드에서는 효과가 극대화 된다.
- L7 정책(http, gRPC 등) 또한 적용이 가능하고 보안에도 유리하며, VXLAN과 같은 overlay도 지원해준다.
hubble과 같이 web을 통한 GUI를 제공하며 traffic을 쉽게 모니터링 및 흐름 추적하기가 쉽다.
ref.
Deploy via helm
보통 기본 IPAM은 다음과 같다.
| 항목 | 기본값 |
|---|---|
| ipam.mode | “cluster-pool” |
| ipam.operator.clusterPoolIPv4PodCIDRList | 10.0.0.0/8 |
| ipam.operator.clusterPoolIPv4MaskSize | 24 |
| ipv4.serviceRange | 10.96.0.0/12 |
규모가 큰 편은 아니여서 k3s의 기본 대역을 사용할 예정이다.
1
2
3
4
5
6
7
8
9
10
11
12
13
14
15
16
17
18
19
20
21
22
23
24
25
26
27
28
29
# first control-plane
deepadmin@k3s-master1:~$ helm repo add cilium https://helm.cilium.io/
"cilium" has been added to your repositories

deepadmin@k3s-master1:~$ helm repo update
Hang tight while we grab the latest from your chart repositories...
...Successfully got an update from the "cilium" chart repository
Update Complete. ⎈Happy Helming!⎈

# 기본 대역설정(10.43.0.0/16, 10.43.0.0/16)
deepadmin@k3s-master1:~$ helm install cilium cilium/cilium \
--namespace kube-system \
--set operator.replicas=1 \
--set ipam.operator.clusterPoolIPv4PodCIDRList='{10.42.0.0/16}' \
--set ipam.operator.clusterPoolIPv4MaskSize=24 \
--set ipv4.serviceRange=10.43.0.0/16 \
--set cleanStateOnUpgrade=true
NAME: cilium
LAST DEPLOYED: Mon Jul 23 16:43:17 2025
NAMESPACE: kube-system
STATUS: deployed
REVISION: 1
TEST SUITE: None
NOTES:
You have successfully installed Cilium with Hubble.

Your release version is 1.17.6.

For any further help, visit https://docs.cilium.io/en/v1.17/gettinghelp
배포 후 일정 시간이 지나면 node가 ready 상태로 올라오게 된다.
1
2
3
4
5
6
7
8
9
10
11
12
13
14
15
16
17
18
19
20
21
22
23
24
25
26
# node 확인
deepadmin@k3s-master1:~$ kubectl get node
NAME          STATUS   ROLES                       AGE      VERSION
k3s-master1   Ready    control-plane,etcd,master   2d       v1.32.6+k3s1
k3s-master2   Ready    control-plane,etcd,master   2d       v1.32.6+k3s1
k3s-master3   Ready    control-plane,etcd,master   2d       v1.32.6+k3s1
k3s-worker1   Ready    data-plane,worker           2d       v1.32.6+k3s1
k3s-worker2   Ready    data-plane,worker           2d       v1.32.6+k3s1

# pod 확인
deepadmin@k3s-master1:~$ kubectl get po -A -o wide
NAMESPACE     NAME                                      READY   STATUS    RESTARTS   AGE   IP            NODE          NOMINATED NODE   READINESS GATES
kube-system   cilium-5z8vr                              1/1     Running   0          2d    10.50.1.223   k3s-master3   <none>           <none>
kube-system   cilium-envoy-4cllz                        1/1     Running   0          2d    10.50.1.232   k3s-worker2   <none>           <none>
kube-system   cilium-envoy-d7bcn                        1/1     Running   0          2d    10.50.1.221   k3s-master1   <none>           <none>
kube-system   cilium-envoy-dmtck                        1/1     Running   0          2d    10.50.1.222   k3s-master2   <none>           <none>
kube-system   cilium-envoy-xjzhn                        1/1     Running   0          2d    10.50.1.223   k3s-master3   <none>           <none>
kube-system   cilium-envoy-z797t                        1/1     Running   0          2d    10.50.1.231   k3s-worker1   <none>           <none>
kube-system   cilium-j7z7q                              1/1     Running   0          2d    10.50.1.232   k3s-worker2   <none>           <none>
kube-system   cilium-operator-787c6d8b85-4ghzf          1/1     Running   0          2d    10.50.1.232   k3s-worker2   <none>           <none>
kube-system   cilium-pktbz                              1/1     Running   0          2d    10.50.1.222   k3s-master2   <none>           <none>
kube-system   cilium-rbc7p                              1/1     Running   0          2d    10.50.1.231   k3s-worker1   <none>           <none>
kube-system   cilium-zscfr                              1/1     Running   0          2d    10.50.1.221   k3s-master1   <none>           <none>
kube-system   coredns-5688667fd4-qj49s                  1/1     Running   0          2d    10.42.0.8     k3s-worker2   <none>           <none>
kube-system   local-path-provisioner-774c6665dc-4rt5b   1/1     Running   0          2d    10.42.0.16    k3s-worker2   <none>           <none>
kube-system   metrics-server-6f4c6675d5-7nthh           1/1     Running   0          2d    10.42.0.226   k3s-worker2   <none>           <none>
cilium 명령어로 확인 해보기
cilium은 명령어로도 status 등의 기능을 제공해준다.
다음과 같이 설치 해보고 확인 해본다.
1
2
3
4
5
6
7
8
9
10
11
12
13
14
15
16
17
18
19
20
21
22
23
24
25
26
27
28
29
30
31
32
33
34
35
36
37
38
39
40
41
42
# 설치
deepadmin@k3s-master1:~$ CILIUM_CLI_VERSION=$(curl -s https://raw.githubusercontent.com/cilium/cilium-cli/main/stable.txt) && \
CLI_ARCH=amd64 && \
if [ "$(uname -m)" = "aarch64" ]; then CLI_ARCH=arm64; fi && \
curl -L --fail --remote-name-all https://github.com/cilium/cilium-cli/releases/download/${CILIUM_CLI_VERSION}/cilium-linux-${CLI_ARCH}.tar.gz{,.sha256sum} && \
sha256sum --check cilium-linux-${CLI_ARCH}.tar.gz.sha256sum && \
sudo tar xzvfC cilium-linux-${CLI_ARCH}.tar.gz /usr/local/bin && \
rm cilium-linux-${CLI_ARCH}.tar.gz{,.sha256sum}

  % Total    % Received % Xferd  Average Speed   Time    Time     Time  Current
                                 Dload  Upload   Total   Spent    Left  Speed
  0     0    0     0    0     0      0      0 --:--:-- --:--:-- --:--:--     0
100 55.2M  100 55.2M    0     0  15.6M      0  0:00:03  0:00:03 --:--:-- 20.0M
  % Total    % Received % Xferd  Average Speed   Time    Time     Time  Current
                                 Dload  Upload   Total   Spent    Left  Speed
  0     0    0     0    0     0      0      0 --:--:-- --:--:-- --:--:--     0
100    92  100    92    0     0    304      0 --:--:-- --:--:-- --:--:--   304
cilium-linux-amd64.tar.gz: OK
cilium

# status 확인
deepadmin@k3s-master1:~$ cilium status
    /¯¯\
 /¯¯\__/¯¯\    Cilium:             OK
 \__/¯¯\__/    Operator:           OK
 /¯¯\__/¯¯\    Envoy DaemonSet:    OK
 \__/¯¯\__/    Hubble Relay:       disabled
    \__/       ClusterMesh:        disabled

DaemonSet              cilium                   Desired: 5, Ready: 5/5, Available: 5/5
DaemonSet              cilium-envoy             Desired: 5, Ready: 5/5, Available: 5/5
Deployment             cilium-operator          Desired: 1, Ready: 1/1, Available: 1/1
Containers:            cilium                   Running: 5
                       cilium-envoy             Running: 5
                       cilium-operator          Running: 1
                       clustermesh-apiserver
                       hubble-relay
Cluster Pods:          3/3 managed by Cilium
Helm chart version:    1.17.6
Image versions         cilium             quay.io/cilium/cilium:v1.17.6@sha256:544de3d4fed7acba72758413812780a4972d47c39035f2a06d6145d8644a3353: 5
                       cilium-envoy       quay.io/cilium/cilium-envoy:v1.33.4-1752151664-7c2edb0b44cf95f326d628b837fcdd845102ba68@sha256:318eff387835ca2717baab42a84f35a83a5f9e7d519253df87269f80b9ff0171: 5
                       cilium-operator    quay.io/cilium/operator-generic:v1.17.6@sha256:91ac3bf7be7bed30e90218f219d4f3062a63377689ee7246062fa0cc3839d096: 1
hubble 배포해보기
hubble은 cilium을 web에서 GUI로 모니터링 할 수 있는 패키지이다.
설치는 cilium 명령어와 helm chart 2가지 방법을 제공한다.
https://docs.cilium.io/en/stable/observability/hubble/setup/#hubble-setup
공식적으로는 cilium 명령어를 사용하는것이 낫다.
1
2
3
4
5
6
7
8
9
10
11
12
13
14
15
16
17
18
19
20
21
22
23
24
25
26
27
28
29
30
31
32
33
34
35
36
37
38
39
40
41
42
43
44
45
46
47
48
49
50
51
52
53
54
55
56
# ui 포함하여 cilium hubble enable
deepadmin@k3s-master1:~$ cilium hubble enable --ui

# status 확인(hubble-relay)
deepadmin@k3s-master1:~$ cilium status
    /¯¯\
 /¯¯\__/¯¯\    Cilium:             OK
 \__/¯¯\__/    Operator:           OK
 /¯¯\__/¯¯\    Envoy DaemonSet:    OK
 \__/¯¯\__/    Hubble Relay:       OK
    \__/       ClusterMesh:        disabled

DaemonSet              cilium                   Desired: 5, Ready: 5/5, Available: 5/5
DaemonSet              cilium-envoy             Desired: 5, Ready: 5/5, Available: 5/5
Deployment             cilium-operator          Desired: 1, Ready: 1/1, Available: 1/1
Deployment             hubble-relay             Desired: 1, Ready: 1/1, Available: 1/1
Containers:            cilium                   Running: 5
                       cilium-envoy             Running: 5
                       cilium-operator          Running: 1
                       clustermesh-apiserver
                       hubble-relay             Running: 1
Cluster Pods:          9/9 managed by Cilium
Helm chart version:    1.17.6
Image versions         cilium             quay.io/cilium/cilium:v1.17.6@sha256:544de3d4fed7acba72758413812780a4972d47c39035f2a06d6145d8644a3353: 5
                       cilium-envoy       quay.io/cilium/cilium-envoy:v1.33.4-1752151664-7c2edb0b44cf95f326d628b837fcdd845102ba68@sha256:318eff387835ca2717baab42a84f35a83a5f9e7d519253df87269f80b9ff0171: 5
                       cilium-operator    quay.io/cilium/operator-generic:v1.17.6@sha256:91ac3bf7be7bed30e90218f219d4f3062a63377689ee7246062fa0cc3839d096: 1
                       hubble-relay       quay.io/cilium/hubble-relay:v1.17.6@sha256:7d17ec10b3d37341c18ca56165b2f29a715cb8ee81311fd07088d8bf68c01e60: 1

# pod 생성 확인(hubble-ui)
deepadmin@k3s-master1:~$ kubectl get po -A
kube-system     cilium-5z8vr                              1/1     Running             0          2d21h
kube-system     cilium-envoy-4cllz                        1/1     Running             0          2d21h
kube-system     cilium-envoy-d7bcn                        1/1     Running             0          2d21h
kube-system     cilium-envoy-dmtck                        1/1     Running             0          2d21h
kube-system     cilium-envoy-xjzhn                        1/1     Running             0          2d21h
kube-system     cilium-envoy-z797t                        1/1     Running             0          2d21h
kube-system     cilium-j7z7q                              1/1     Running             0          2d21h
kube-system     cilium-operator-787c6d8b85-4ghzf          1/1     Running             0          2d21h
kube-system     cilium-pktbz                              1/1     Running             0          2d21h
kube-system     cilium-rbc7p                              1/1     Running             0          2d21h
kube-system     cilium-zscfr                              1/1     Running             0          2d21h
kube-system     coredns-5688667fd4-qj49s                  1/1     Running             0          2d21h
kube-system     hubble-relay-6b6fd4ffb4-ppwst             1/1     Running             0          66s
kube-system     hubble-ui-76d4965bb6-nwxjt                0/2     ContainerCreating   0          5s
kube-system     local-path-provisioner-774c6665dc-4rt5b   1/1     Running             0          2d21h
kube-system     metrics-server-6f4c6675d5-7nthh           1/1     Running             0          2d21h

# svc 확인
deepadmin@k3s-master1:~$ kubectl get svc -n kube-system
NAME             TYPE        CLUSTER-IP      EXTERNAL-IP   PORT(S)                  AGE
cilium-envoy     ClusterIP   None            <none>        9964/TCP                 2d21h
hubble-peer      ClusterIP   10.43.233.6     <none>        443/TCP                  2d21h
hubble-relay     ClusterIP   10.43.36.85     <none>        80/TCP                   90s
hubble-ui        ClusterIP   10.43.144.235   <none>        80/TCP                   29s
kube-dns         ClusterIP   10.43.0.10      <none>        53/UDP,53/TCP,9153/TCP   2d22h
metrics-server   ClusterIP   10.43.98.89     <none>        443/TCP                  2d22h
간단하게 hubble-ui는 배포 되었지만 NodePort가 따로 되어있진 않아 웹 접속은 안되는 상태이다.
이런 경우엔 kubectl edit을 통해 NodePort를 주면 된다.
1
2
3
4
5
6
7
8
9
10
11
12
13
14
15
16
17
18
19
20
21
22
23
24
25
26
27
28
29
30
31
32
33
34
35
36
37
38
39
40
41
42
43
44
45
46
47
48
49
50
51
52
53
54
55
# svc 편집(NodePort)
deepadmin@k3s-master1:~$ kubectl edit svc -n kube-system hubble-ui
# Please edit the object below. Lines beginning with a '#' will be ignored,
# and an empty file will abort the edit. If an error occurs while saving this file will be
# reopened with the relevant failures.
#
apiVersion: v1
kind: Service
metadata:
  annotations:
    meta.helm.sh/release-name: cilium
    meta.helm.sh/release-namespace: kube-system
  creationTimestamp: "2025-07-24T05:35:22Z"
  labels:
    app.kubernetes.io/managed-by: Helm
    app.kubernetes.io/name: hubble-ui
    app.kubernetes.io/part-of: cilium
    k8s-app: hubble-ui
  name: hubble-ui
  namespace: kube-system
  resourceVersion: "327660"
  uid: be84121c-b35f-4586-b880-58a8fd77a657
spec:
  clusterIP: 10.43.144.235
  clusterIPs:
  - 10.43.144.235
  internalTrafficPolicy: Cluster
  ipFamilies:
  - IPv4
  ipFamilyPolicy: SingleStack
  ports:
  - name: http
    port: 80
    protocol: TCP
    targetPort: 8081
    nodePort: 30081
  selector:
    k8s-app: hubble-ui
  sessionAffinity: None
  type: NodePort
status:
  loadBalancer: {}

# 저장
service/hubble-ui edited

# svc 확인
deepadmin@k3s-master1:~$ kubectl get svc -n kube-system
NAME             TYPE        CLUSTER-IP      EXTERNAL-IP   PORT(S)                  AGE
cilium-envoy     ClusterIP   None            <none>        9964/TCP                 2d21h
hubble-peer      ClusterIP   10.43.233.6     <none>        443/TCP                  2d21h
hubble-relay     ClusterIP   10.43.36.85     <none>        80/TCP                   8m42s
hubble-ui        NodePort    10.43.144.235   <none>        80:30081/TCP             7m41s
kube-dns         ClusterIP   10.43.0.10      <none>        53/UDP,53/TCP,9153/TCP   2d22h
metrics-server   ClusterIP   10.43.98.89     <none>        443/TCP                  2d22h
30081 포트로 NodePort를 오픈한 상태이다.
이 상태에서 웹으로 접속 해본다.
NodePort로 오픈되어 있을 땐 Cluster의 모든 node:IP로 접속이 가능하다.
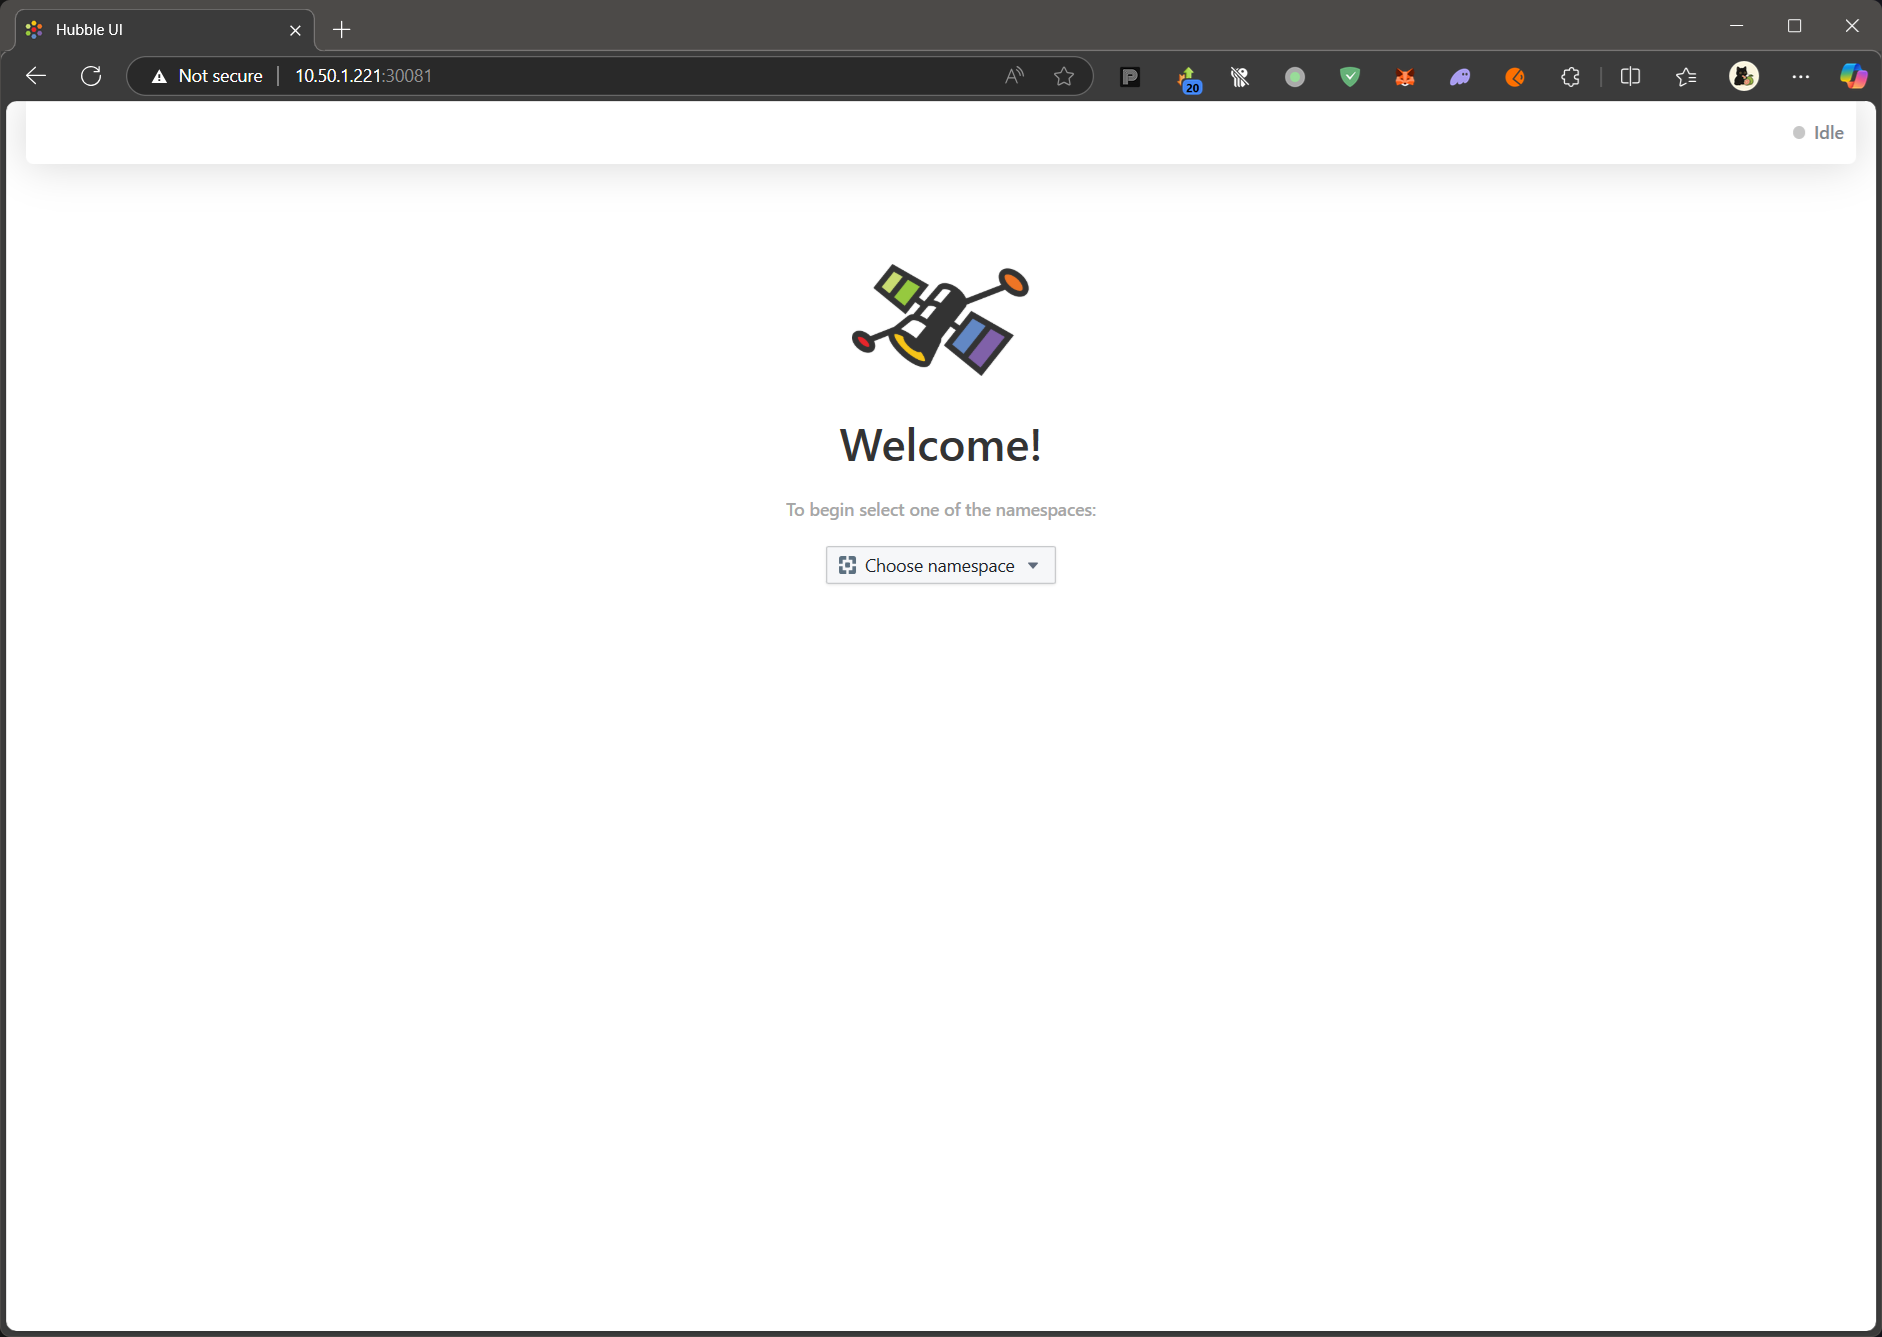 Cilium 메인
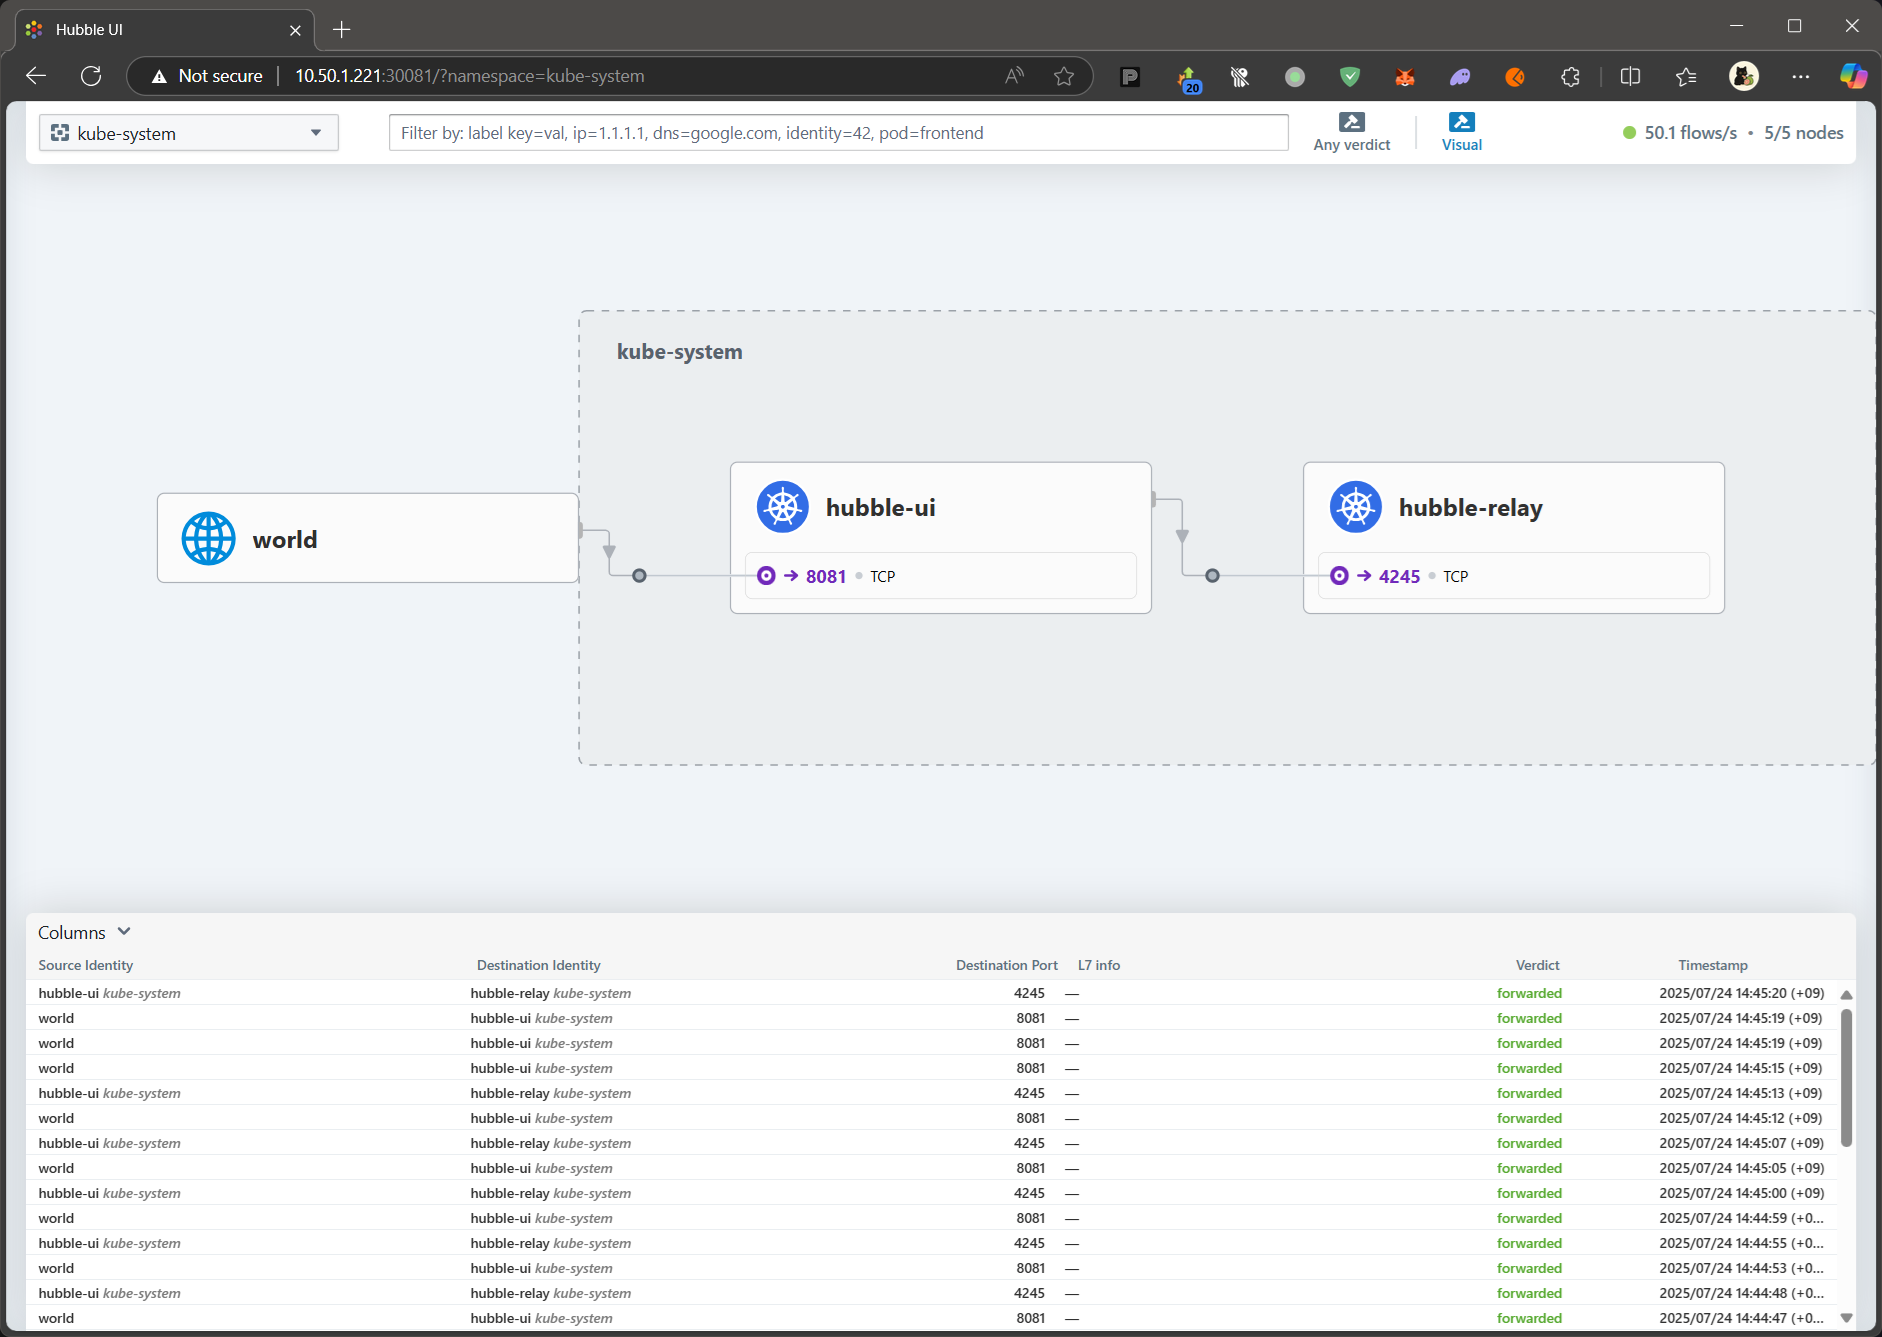 NameSpace별 모니터링
배포가 완료 되었고 추가로 기능을 추가하거나 기능을 더 쓰려면 공식 페이지를 확인하면 된다.
This post is licensed under CC BY 4.0 by the author.