Synology - Container에서 동작하는 proxy service에서 Real IP를 못 가져오는 현상 해결
Synology의 Container Manager내의 proxy service에서 Client Real IP를 못 가져오는 현상에 대해 해결하는 방법이다.
DSM 7.2.1-69057 Update 5 / Container Manager 20.10.23-1437
Host
GUI
개요
- Container Manager에서 구성 된 proxy service(Traefik)가 있는데, Client Real IP를 못가져는 오는 현상을 발견 했다.
- Real IP를 못 가져옴으로 써 client의 대한 신원 파악이 안되다보니 접속할 때 마다 같은 location으로 인식하게 되고 login session이 안 풀리는 현상도 같이 발생하는 것을 확인했다.
ref.
근본적인 이유와 해결책
근본적으로 Synology의 Container Manager(구 Docker)에서 linux host의 iptables와 달리 PREROUTING이 빠져있어 network traffic이 container로 우선적으로 빠지지 못하기에 생기는 이유였다.
해결 하기위해서는 다음과 같은 script를 Task Scheduler에 boot-up 마다 적용 시켜주고, Trusted Proxies에 proxy service가 있는 CIDR를 넣어주면 된다.
1. Boot-up script 적용
1
2
3
4
5
6
7
8
9
10
11
12
13
14
15
16
17
18
19
20
21
22
23
24
25
26
27
28
#!/bin/bash
currentAttempt=0
totalAttempts=10
delay=15

while [ $currentAttempt -lt $totalAttempts ]
do
	currentAttempt=$(( $currentAttempt + 1 ))

	echo "Attempt $currentAttempt of $totalAttempts..."

	result=$(iptables-save)

	if [[ $result =~ "-A DOCKER -i docker0 -j RETURN" ]]; then
		echo "Docker rules found! Modifying..."

		iptables -t nat -A PREROUTING -m addrtype --dst-type LOCAL -j DOCKER
		iptables -t nat -A PREROUTING -m addrtype --dst-type LOCAL ! --dst 127.0.0.0/8 -j DOCKER

		echo "Done!"

		break
	fi

	echo "Docker rules not found! Sleeping for $delay seconds..."

	sleep $delay
done
위의 script를 Task Scheduler에 적용 시켜준다. Task 제목은 대충 짓는다. (ex. Routing table update for docker)
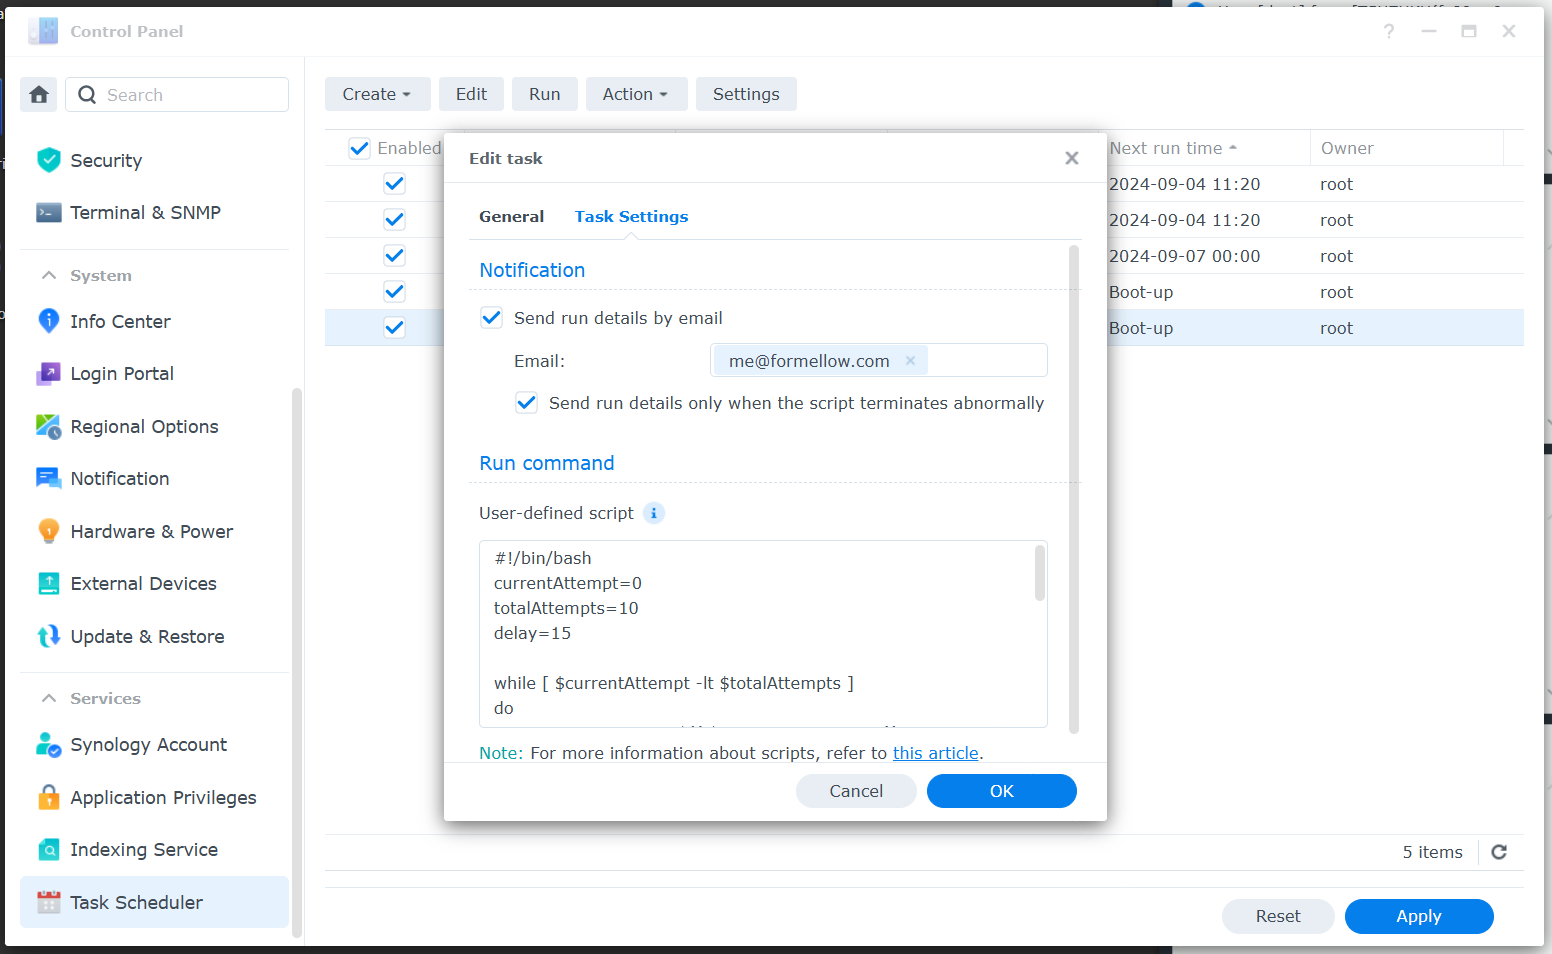 Task Scheduler 등록
OK 후 Run을 해주면 바로 적용이 된다.
그렇지만 docker의 traffic에 대해 바로 적용 된 것이 아니기에 reboot 또는 container의 대해 down & up을 해야한다.
2. Trusted Proxies 등록
위의 작업만 해서는 IP를 못 불러올 가능성이 높다.
이럴경우 Security → Trusted Proxies에 등록도 같이 해주면 된다.
Trusted Proxies는 Synology에도 reverse proxy에 client ip를 노출 시킬때 사용한다고 적혀 있다.
여기에 proxy service가 있는 CIDR을 적어주면 된다.
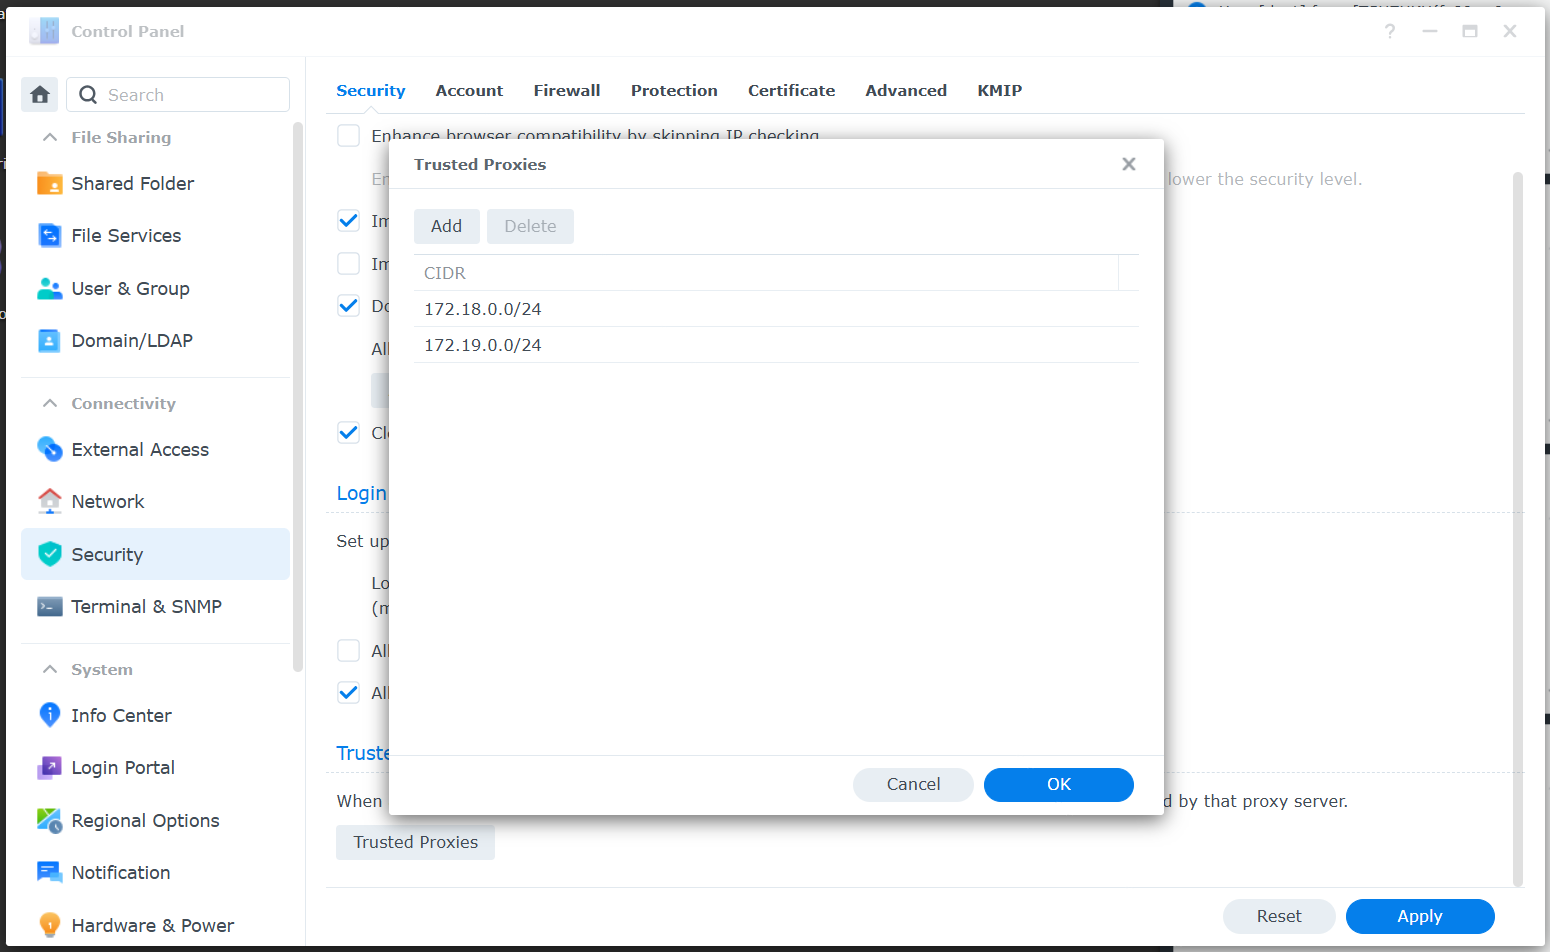 Proxy service가 존재하는 내부 Docker bridge 대역 등록
다 되었으면 logout 후 login을 해본다.
정상적으로 적용이 되었으면 다음과 같이 Recent Logs에 Real IP가 노출이 된다.
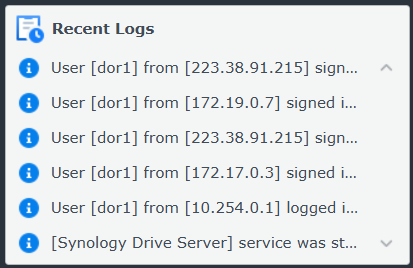 외부 IP 확인